Optics bench in 3D
Follow lenses, prisms and mirrors from light source to image. Explore the 3D model, inspect its parts and learn with guided explanations. Free on Atlas.
What you can learn
Follow lenses, prisms and mirrors from light source to image.
Why does the centre matter?
Trace the focus, then look beyond it.
Separate focusing from dispersion.
Try an investigation
Why does the centre matter? Then compare ray bundle with prism dispersion. Explain what the visible structures show and what the model leaves out.
Check your understanding
What is the blue mirror normal?
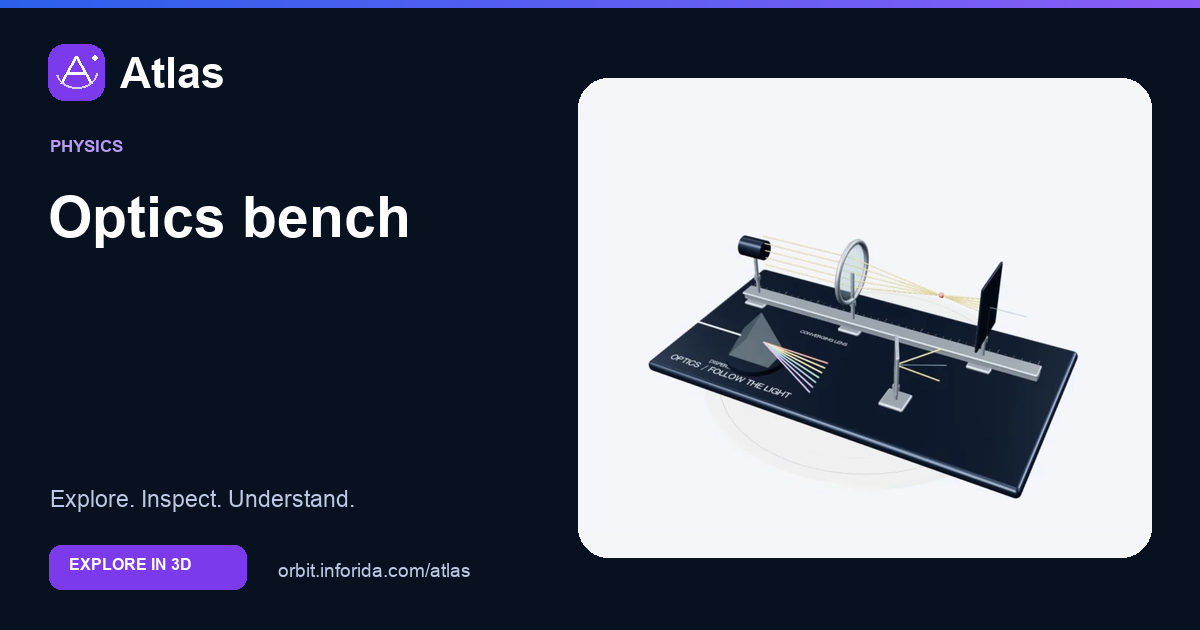
A perpendicular reference line. A perpendicular reference line. Locate the blue normal next to the mirror. Compare the incoming and outgoing ray directions against that line, rather than against the mirror face. Reflection changes direction without sending the ray through the mirror.
Where do the parallel lens rays meet?
At the focal marker. At the focal marker. The five gold rays meet at the focal marker, then separate again. The screen sits beyond that point in this example. Moving a screen changes the light pattern it intercepts; it does not move the lens focal point.
What do the prism colours distinguish?
Wavelength bands. Wavelength bands. The prism is a separate exhibit. Its nonparallel faces redirect the incoming beam, and the coloured routes distinguish wavelength bands. The spread is illustrative; it is not a measured spectrum of this material.
Sources and model scope
Three teaching stations: thin-lens focusing, prism dispersion and plane-mirror reflection. Rays and colours are explanatory geometry; this is not an optical ray-tracing solver.